Project Page
The Projects page is composed of several rectangular areas called panels. Each panel can contain one or more tabs, providing access to different tools and workflows.
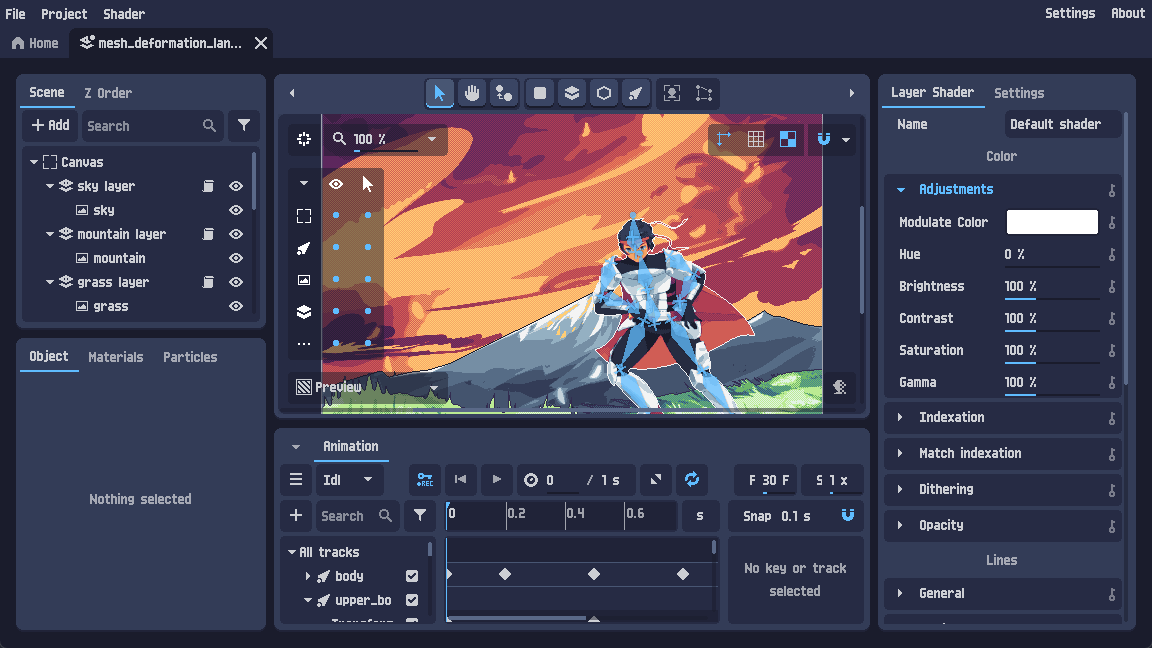
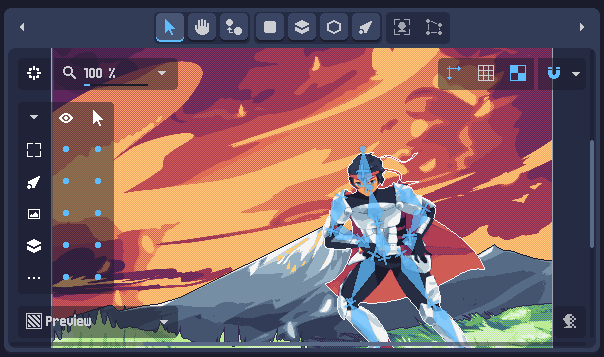
View panel
The View panel is the main workspace. It includes a toolbar at the top and a viewport where you can edit and preview your scene.
Main tools

Main tools provide access to core actions such as selecting objects, moving the view, creating objects, and more.
Each tool includes a tooltip describing its purpose and its associated shortcuts.
Sub tools
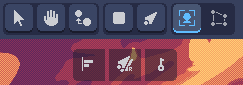
Sub tools change depending on the active main tool and the currently selected object.
Zoom and center
At the bottom right:
- Center button: centers the view on the selected object, or on the origin if nothing is selected.
- Zoom input: controls the viewport zoom level.
Click the zoom icon to reset to 100%, or use the dropdown to choose a preset zoom value.
View buttons
Located at the top right, the view buttons toggle viewport overlays and helpers such as axes, grid, etc.
These options can also be configured from the Settings tab in the right panel (see Project settings).
Object visibility and selection
On the center left, you can control:
- Visibility per object category (Canvas, Bones, 2D Objects, 3D Objects, and others)
- Selection/clickability, allowing you to lock categories from being selected in the viewport
This panel can be collapsed or expanded using the arrow at its top-left corner.
3D layer gizmo

When a 3D Layer or 3D Object is selected, a gizmo panel appears on the center right to quickly adjust the camera orientation.
It includes:
- A button at the top left to switch camera perspective
- A menu at the top right with preset camera angles
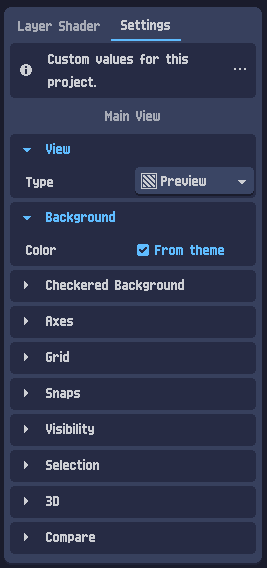
View type and Comparison
At the bottom left, the View Type dropdown lets you change how the viewport is rendered:
- No effects: displays the view without any shader applied.
- Preview: displays the final result after all shaders are applied.
- Normal Buffer (3D only): displays the global face orientation of 3D objects.
- Depth Buffer (3D only): displays the distance from the camera, ranging from white (nearest) to black (farthest).
The Comparison toggle splits the viewport into two views side-by-side, each using its own View Type.
Scene, Z Order trees and Animations
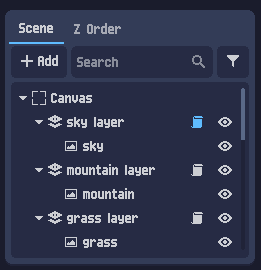
The Scene tree displays all objects based on their parent–child hierarchy.
You can:
- Multi-select objects using
ShiftorCtrl - Reorder objects using drag-and-drop
More information: Scene
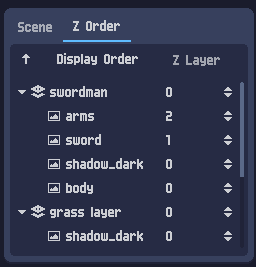
The Z Order tree displays objects based on both hierarchy and Z layer.
- Objects with a higher Z layer are displayed on top.
- If two objects share the same Z layer, the object that appears last in the Scene tree will be displayed on top.

The Animations tree displays all animations folders and animations based on their parent–child hierarchy.
More information: Animation
Selected object panel
Object properties
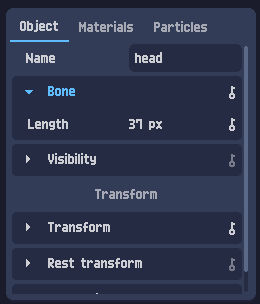
The Selected Object panel displays the properties of the currently selected object, such as name, transform values (position, rotation, etc.), and object-specific settings.
More information: Objects
Materials
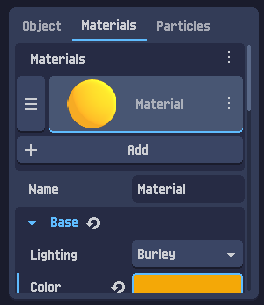
3D objects can have materials assigned to them. Materials can be edited directly in PixelOver.
Tutorial: material editing
Particles
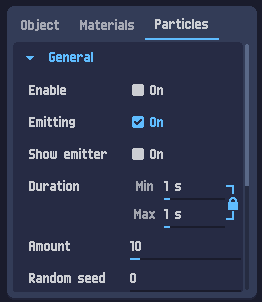
Particles can be enabled on most visual objects, including:
- 2D objects such as sprites and shapes
- simple 3D objects such as meshes and 3D shapes
Tutorial: particle systems
Shader
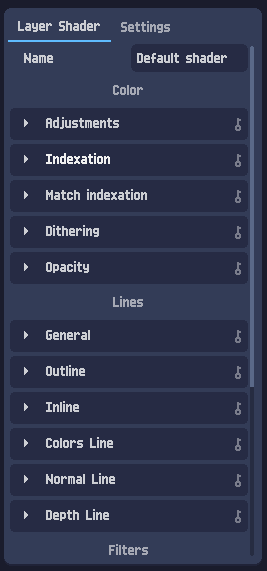
The Shader panel displays the shader and effect properties of the currently selected object.
More information: Shader
Project settings
Project settings contain configuration values specific to the current project (for example: background color, grid size, etc.).
By default, changes made here also update the global Settings → Project tab:
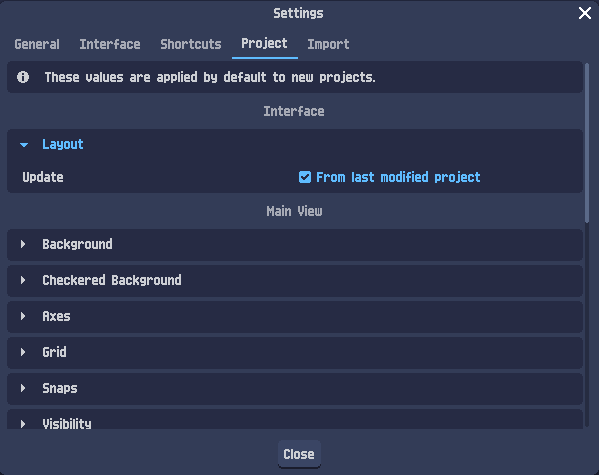
You can disable this synchronization by unchecking the Update input option.
Animation
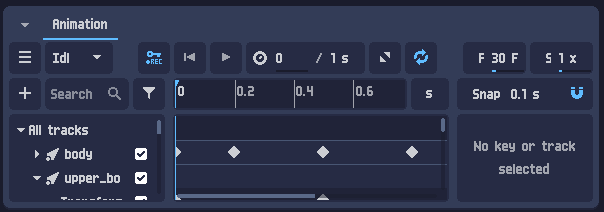
The Animation panel provides keyframe animation tools.
It is hidden by default: click the Animation tab to display it.
More information: Animation