2D Bones Animation
In this tutorial, you'll learn how to create a 2D pixel art bones animation in PixelOver.
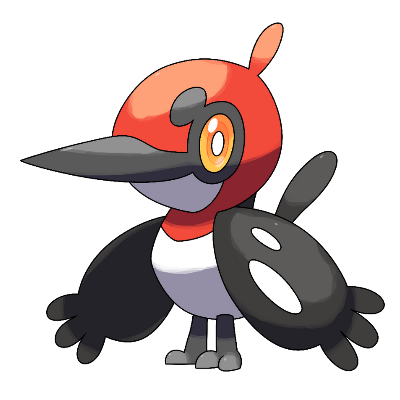
We will start from a single artwork, split it into parts, rig it with bones, animate it, and export the final sprite animation.
Requirements
For this tutorial, you need an artwork to animate.
I'm using an artwork by Smiley-Fakemon.
Before rigging, the artwork must be split into separate parts (head, torso, wings, paws, etc.).
If you don't know how to do that, check this tutorial first:
Splitting drawings into objects
Next, we will use PixelOver to pixelate the artwork and animate it using bones.
1. Splitting and filling the artwork
The first step is to split the artwork into independent parts.
These parts will later be animated separately.
Typical parts include:
- head
- torso
- wings
- paws / legs
- tail
- accessories (if any)
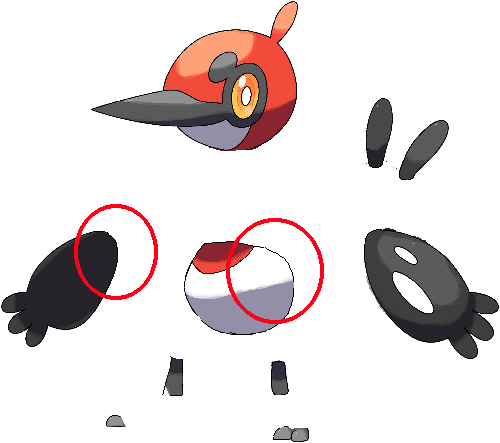
Fill hidden areas (important)
After splitting, you must fill the hidden areas behind each part.
For example:
- the wing hides part of the torso
- the torso hides part of the wing root
- the paws may hide parts of the legs
Even a quick fill is usually enough, because small imperfections become less noticeable once the artwork is pixelated.
Export each part
Export each separated part as a different image file.
You can download the images from this example:
\assets\bones_animation\speck_splitted.zip
2. Import images into PixelOver
Open PixelOver, then drag and drop all your part images into the project.
When importing, choose to import them as separate images (not as an animated image).
It is also recommended to import the original full artwork as a reference image.
Tip
At this stage, you don’t need to reorder the images perfectly. You will place them correctly later when parenting them under bones.
3. Resize your artwork (optional but recommended)
If needed, you can select multiple images at once (Shift + left click) and resize them together.
This is useful to quickly match the desired pixel art scale before applying the shader.
4. Apply a pixel art shader
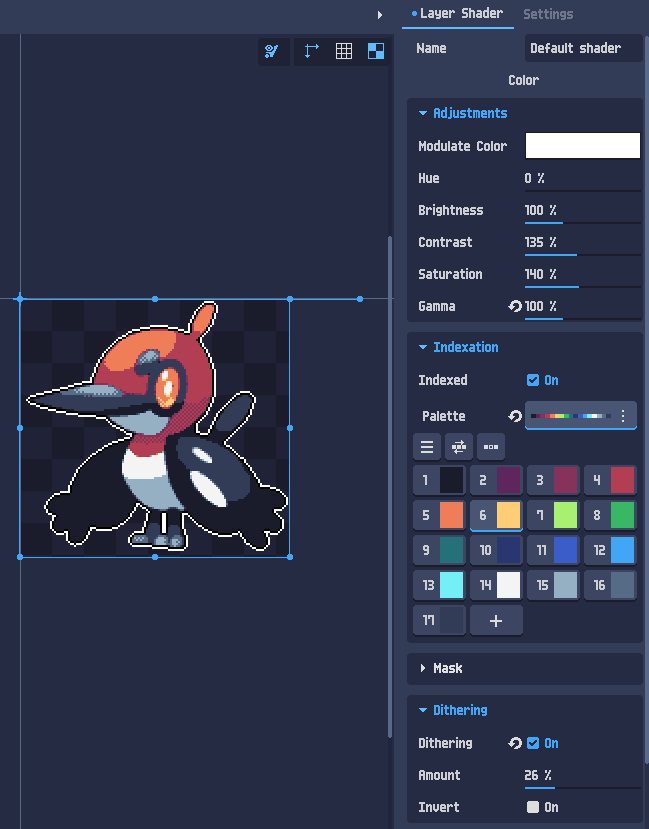
Now apply a shader to get the pixel art look.
You can:
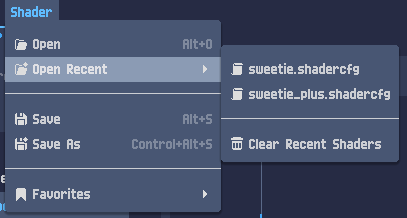
- load a preset shader from the top bar
- or tweak the shader parameters in the right panel
Tip
It’s easier to rig and animate once the pixel style is already applied, because you can immediately see the final proportions and readability.
5. Rigging: create the bone structure
Deselect all images, then select the Bone tool.
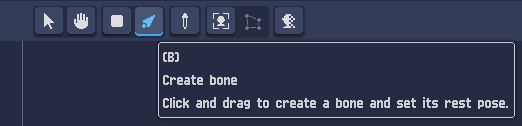
Create the bones
Use click + drag to create bones in the viewport.
Create a clean hierarchy (parent → child), for example:
- Root
- Bone_Torso
- Bone_Head
- Bone_Wing_L
- Bone_Wing_R
- Bone_Leg_L
- Bone_Leg_R
- Bone_Tail
Tip
Rename bones as you create them. A good naming convention helps a lot during animation:
Root, Bone_Torso, Bone_Head, Bone_Wing_L, Bone_Wing_R, etc.
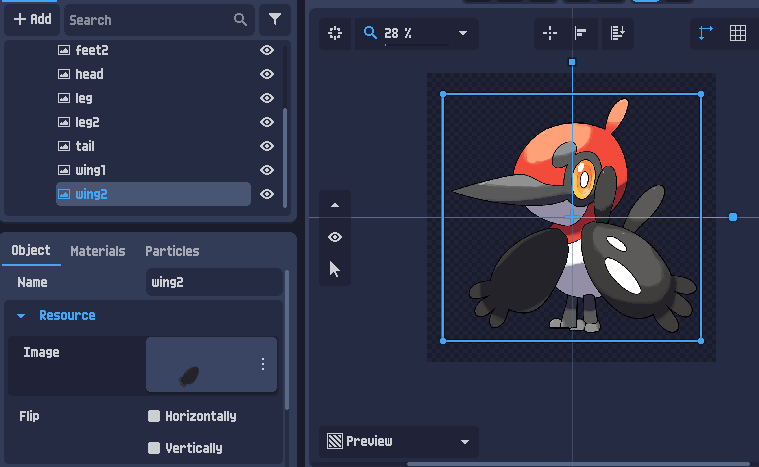
Parent images under bones
At this stage, bones do not affect images automatically.
To bind a sprite part to a bone, simply parent the image under the bone in the scene tree.
Example:
- Bone_Torso
- Torso_Image
- Bone_Head
- Head_Image
You can use cut/paste or drag-and-drop parenting in the scene tree.
Once all parts are parented correctly, your rig should look like a full hierarchy:
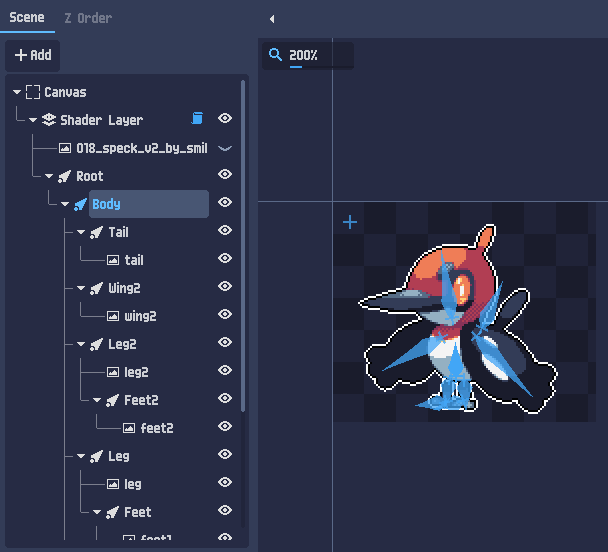
Info
The first bone (often named Root) can have a length of 0px.
It acts as a stable reference point and makes it easier to move or scale the entire character.
At this point, the rigging is complete.
Now we can start animating.
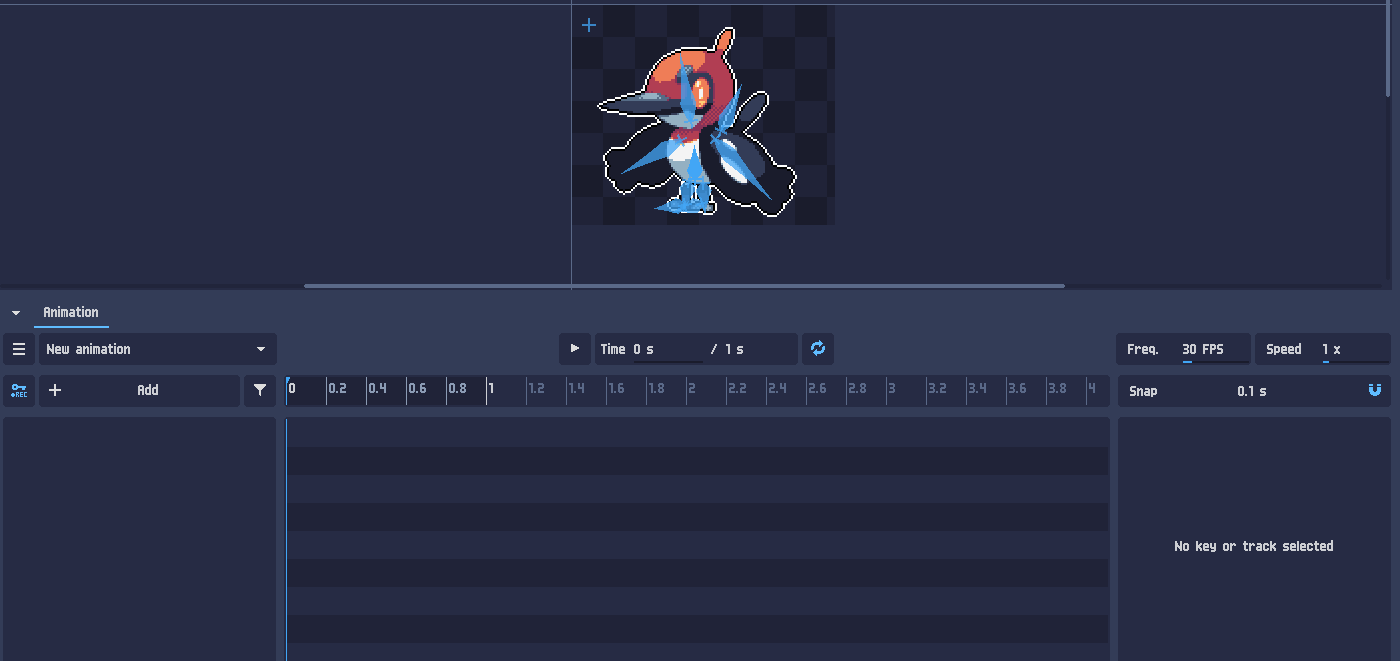
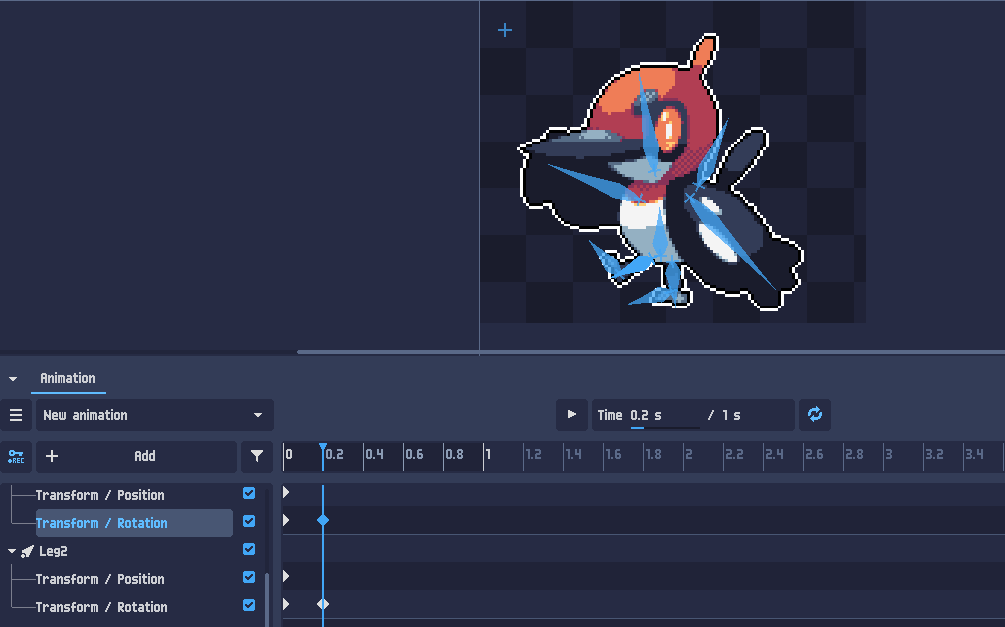
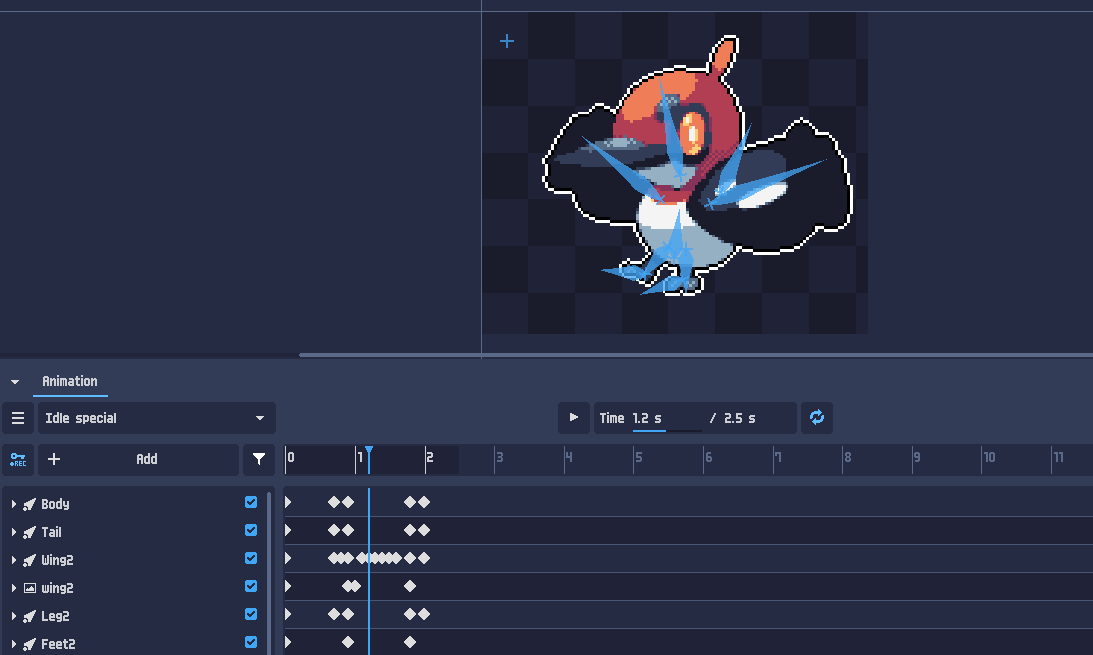
6. Animation
Open the animation panel at the bottom of the interface.
Rename your animation, then configure:
- duration
- FPS (frames per second)
Create the first keys
Select all bones, then click the key icons to create keys for:
- Position
- Rotation
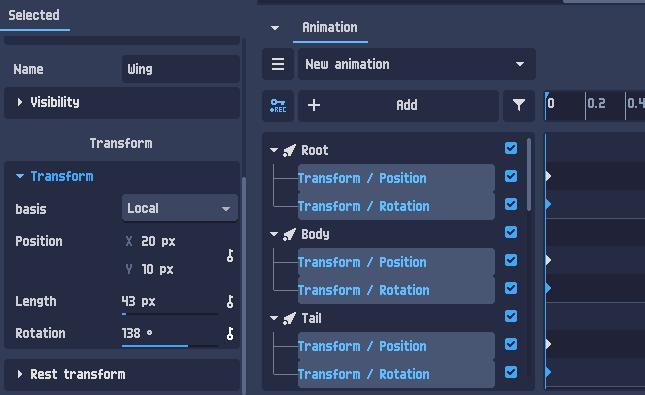
This creates the base pose for frame 0.
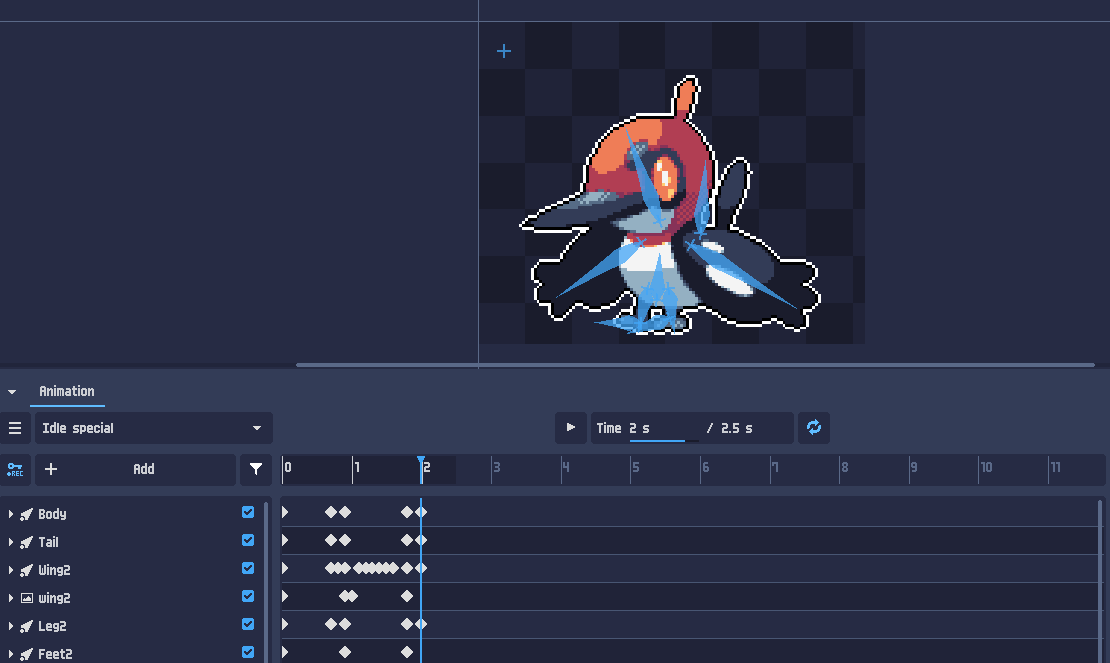
Add more poses
Move the timeline cursor forward.
Pose the bones to create the next frame.
If the REC button is enabled, keys will be created automatically when you modify the bones.
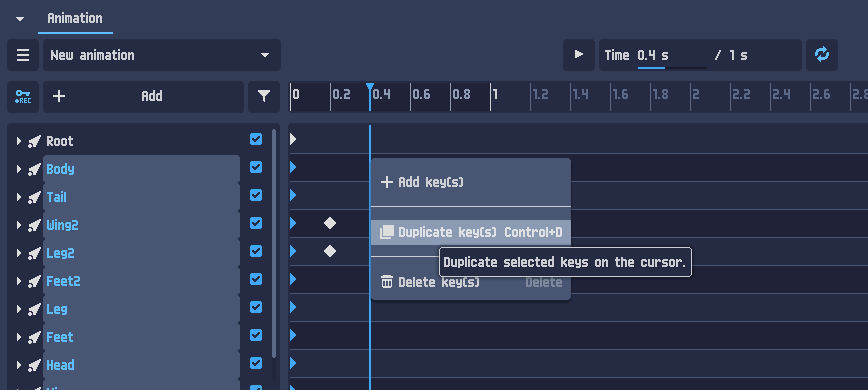
Duplicate keys to speed up workflow
To save time, you can select keys and duplicate them at the current cursor position.
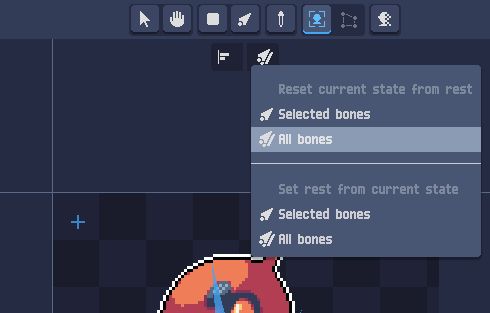
Reset bones to rest pose
At any time, you can force bones to return to their rest position.
Example animation (jump)
For this example, the character performs a jump:
Tip
A good animation usually needs counterbalance. For example, after a jump, the character should absorb the landing (compression) instead of instantly snapping back to the idle pose.
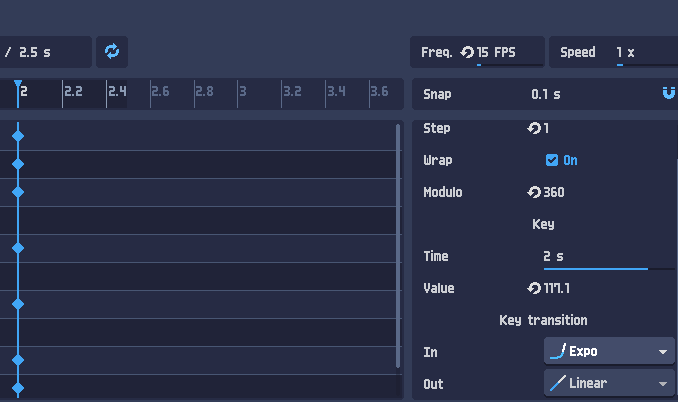
Improve transitions
To make the animation smoother, you can:
- adjust key timing
- apply easing on keys
- manually refine transitions
7. Export
Before exporting:
- confirm your animation FPS is correct
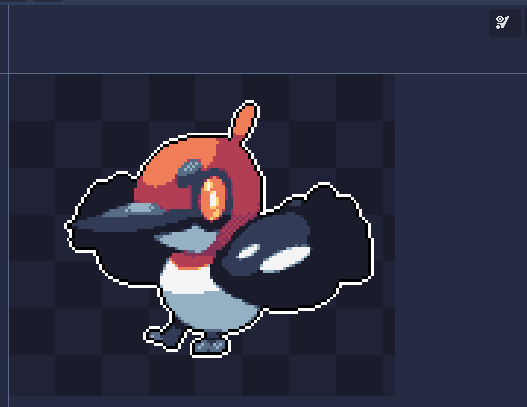
- hide bones using the top-right toggle if needed (better preview)
Then open the export dialog:
Project > Export...
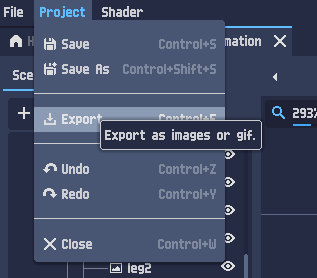
You can export as:
- PNG sequence
- GIF
- spritesheet
You can also:
- rescale pixel size
- separate animations into folders
- preview how many frames will be generated

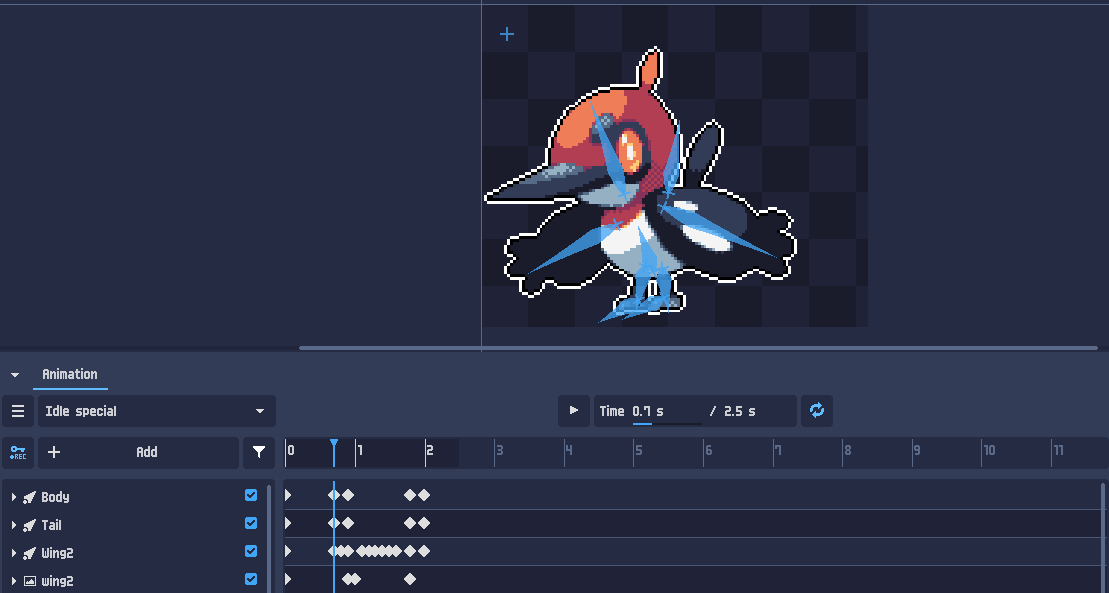
Final result:
This project and other examples are available in the PixelOver download files (including the demo):
https://deakcor.itch.io/pixelover#purchase