Edit 3D Model Bones Pose
This tutorial explains how to edit the pose of a rigged 3D model, how bone edits interact with imported animations, and how to attach extra objects (such as a weapon) to a bone.
Requirements
Start by importing a 3D Scene that contains rigged bones.
If possible, choose a model that also includes animations, so you can test partial animation overrides.
After importing the 3D Scene:
- Select the scene object
- Enable Edit bones in the selected object panel
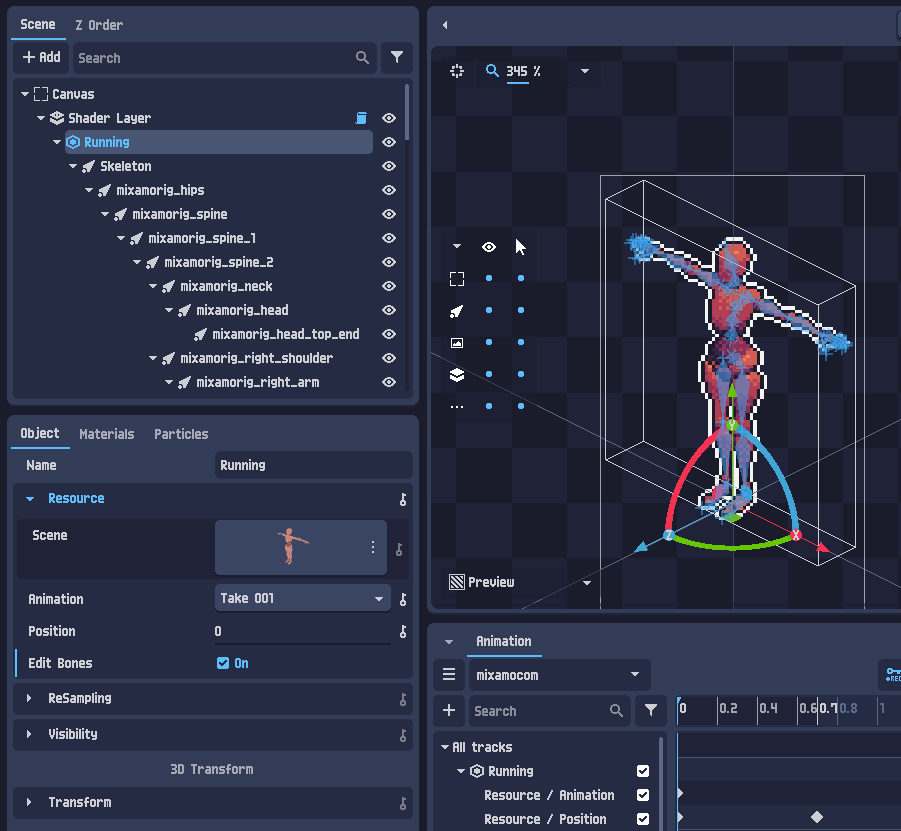
PixelOver will generate 3D Bone objects as children of the 3D Scene.
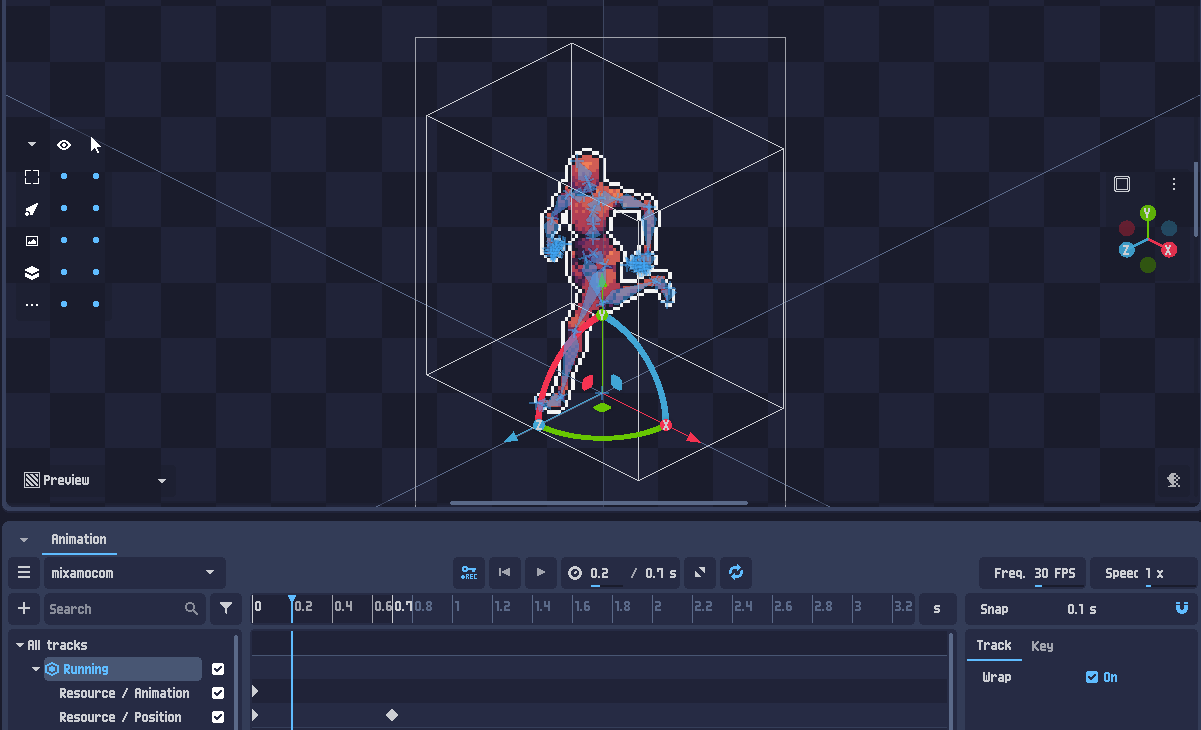
Animate bones pose
When you play an imported animation, you will see that the bones remain synchronized with the original animation data.
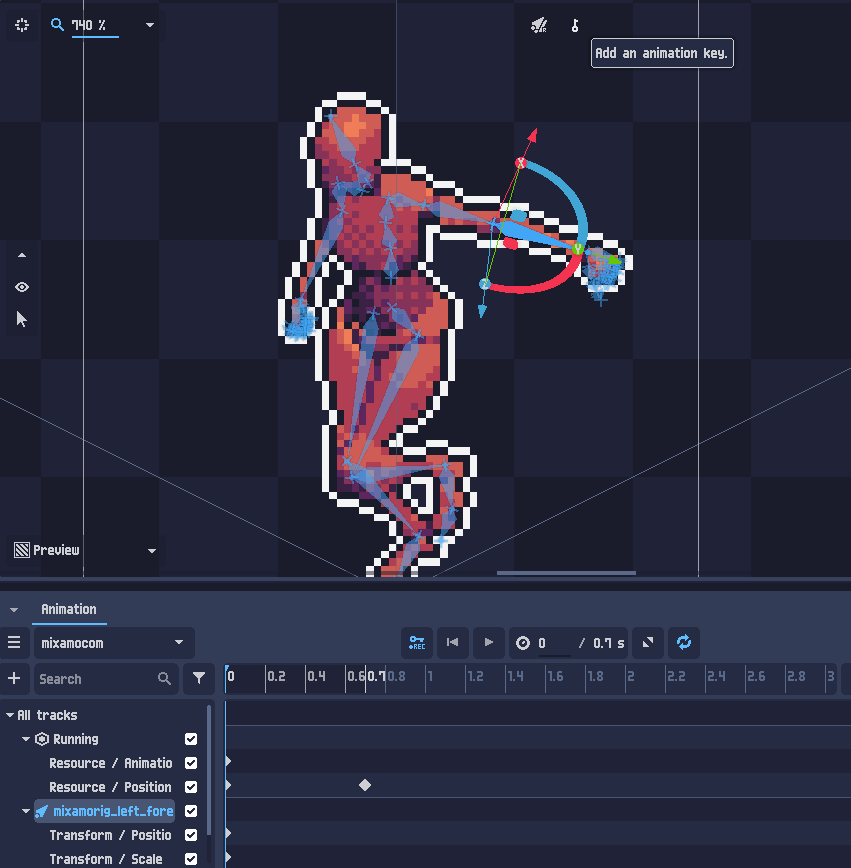
To override the animation for a specific bone:
- Select the bone you want to modify
- Add an animation key for it
Once a bone has its own keyframes, it will follow your new animation track, while the rest of the skeleton can still stay synchronized with the imported animation.
Attach objects to bones
Since bones are generated as separate objects, you can attach other objects to them.
For example, you can import a sword model (it is usually placed at the layer root by default):
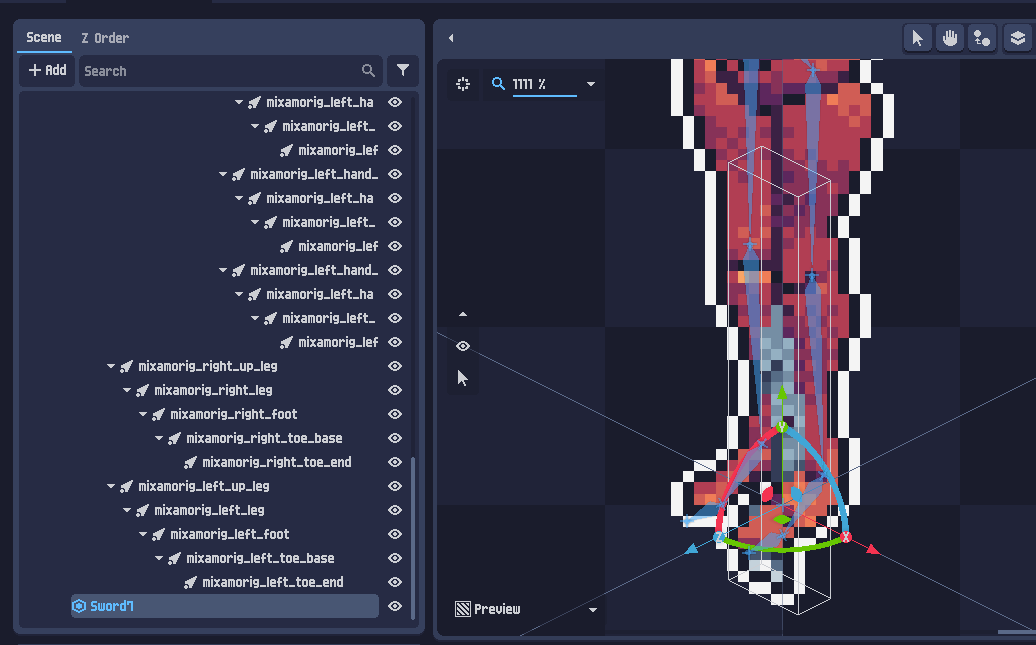
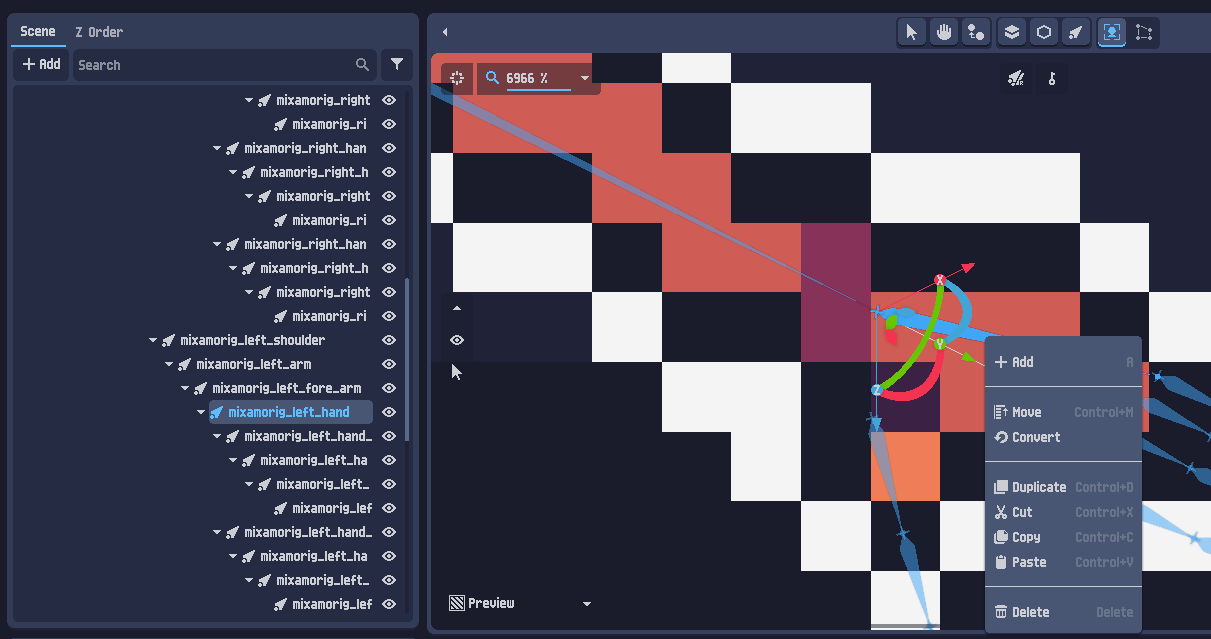
To attach it to a bone:
- In the scene tree panel, right-click the sword object
- Select Cut
- Select the target bone
- Right-click and select Paste
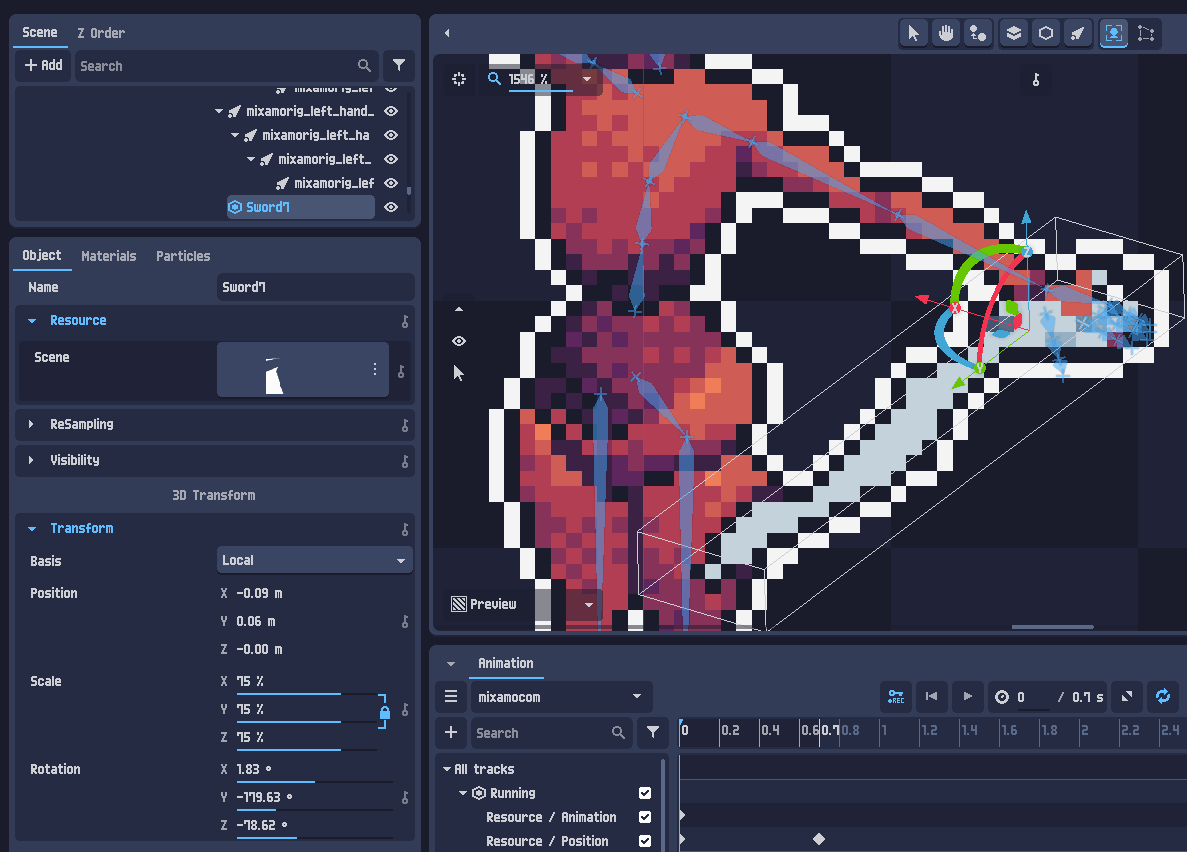
Once the object is parented to the bone, you can adjust it:
- reset its transform from the bottom-left panel
- tweak its position, rotation, and scale until it fits correctly
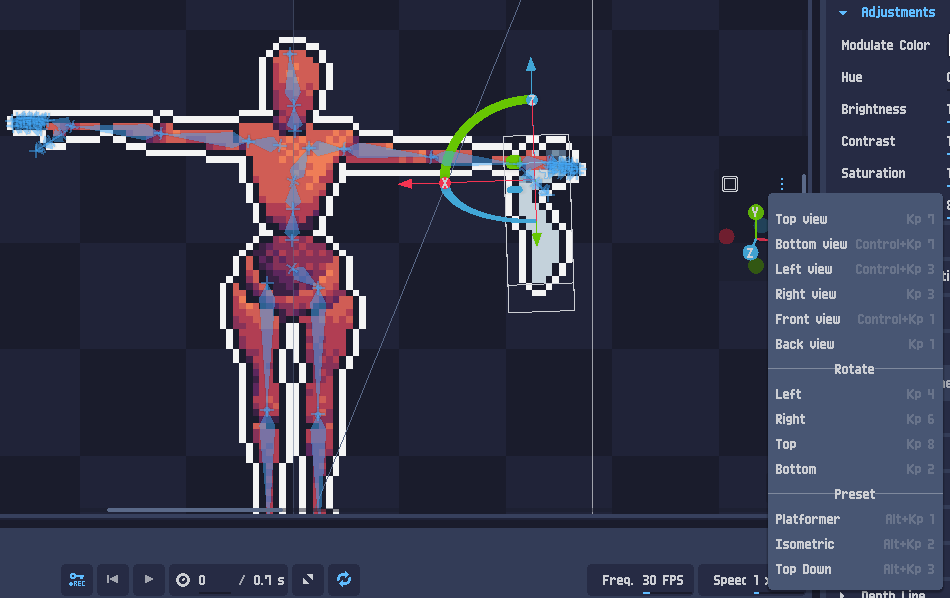
To preview the attachment from different angles:
- use the layer rotation gizmo, or
- use the shortcut
Shift + Middle Click
When you are done, you can use the camera presets menu to return to your desired output camera angle.
To go further
This tutorial project (and other examples) is available in the PixelOver download files, inside the examples/ folder.