Material Editing
In this tutorial, you will learn how to import materials from a 3D file, edit them in PixelOver, and animate material properties using keyframes.
We will go through the most important material settings and finish with a simple animation example.
Before you start
The final result of this tutorial is available in the PixelOver download files, inside the examples/ folder.
To follow along, you can use any 3D model as long as it contains one or more materials.
Step 1 - Select a 3D object
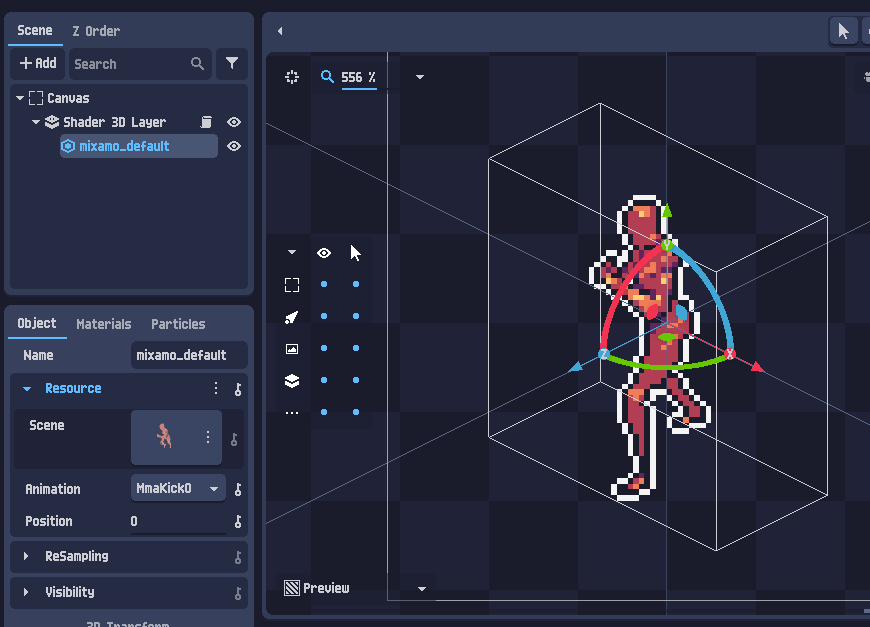
Import your 3D model into PixelOver, then select it:
- from the scene tree, or
- directly in the main view
Importing materials
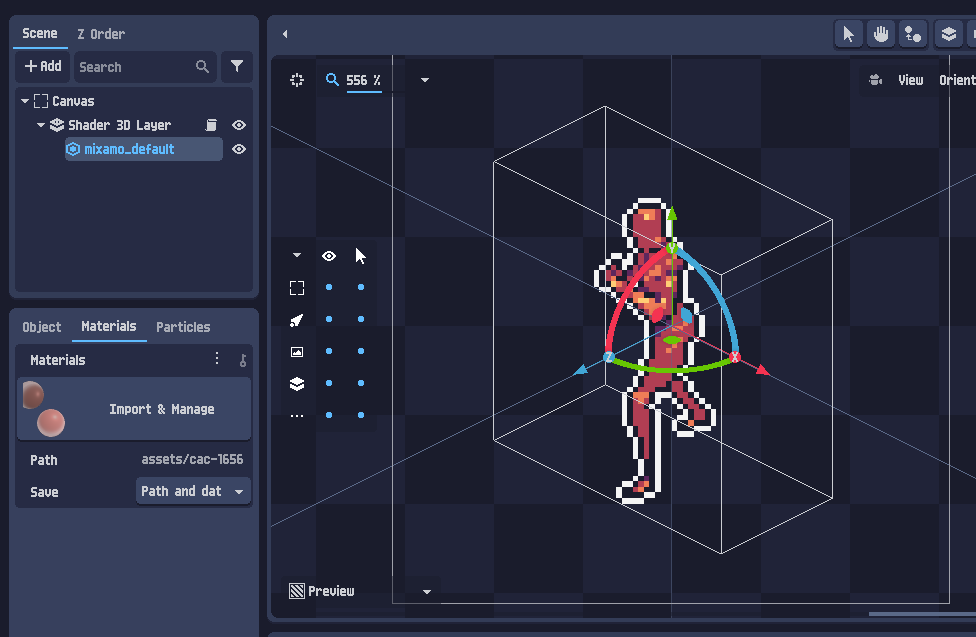
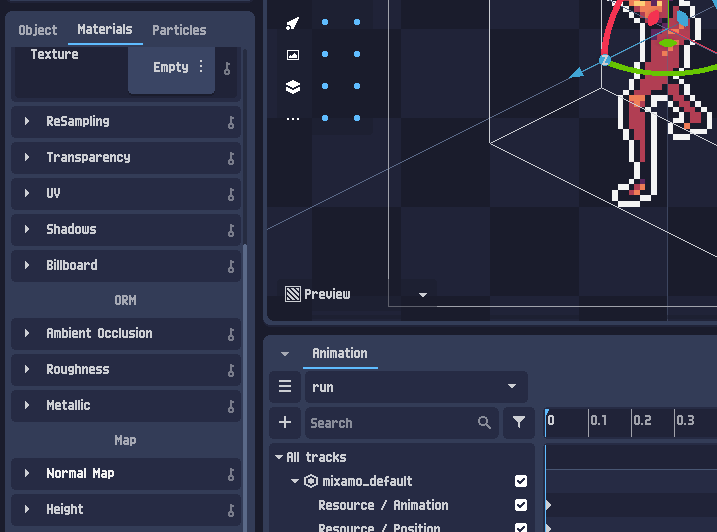
Open the Materials tab. You will see a preview list of the materials linked to the imported 3D file.
Click Import & Manage to import them into the project.
Warning
Importing materials will unsync them from the original 3D file.
This means future external changes to the model file will no longer automatically update the imported materials in PixelOver.
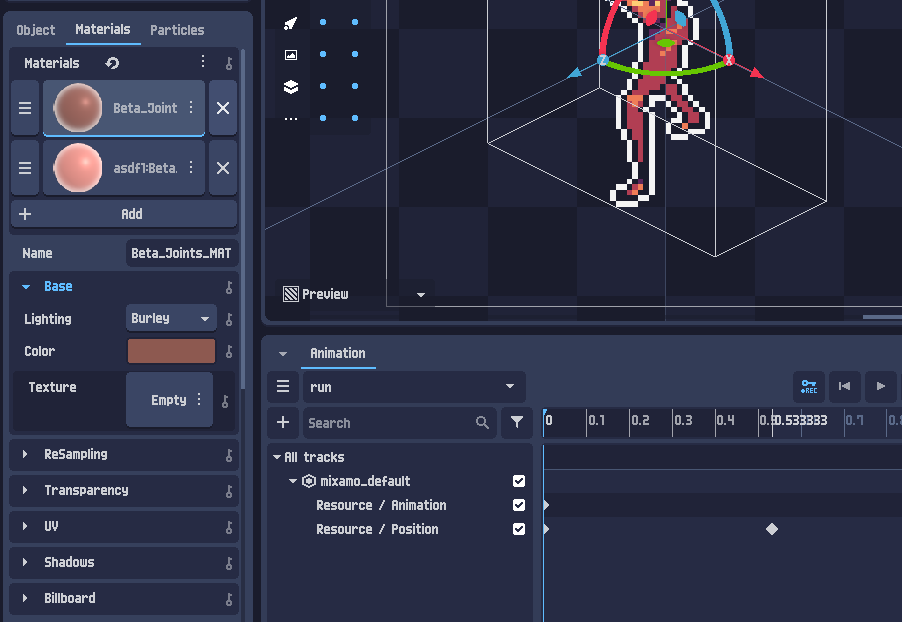
Once imported, click a material in the list to display and edit its properties.
Linked materials (shared instances)
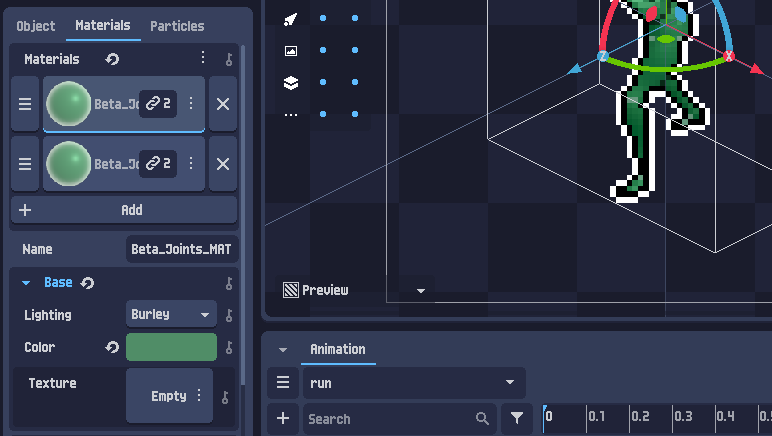
Some materials display a link icon with a number.
This means the same material instance is used in multiple places in the model.
When materials are linked:
- editing one will also update all linked surfaces
- copying a material into another slot may create a shared link
For example, if you copy the first material into the second slot, both surfaces may end up using the same material. Changing the color will then affect both surfaces.
To make a material unique again, click the link button to unlink it.
Material properties
PixelOver exposes the most common material properties, including:
- Base color
- Base texture
- ORM maps (Occlusion, Roughness, Metallic)
Material shader effects
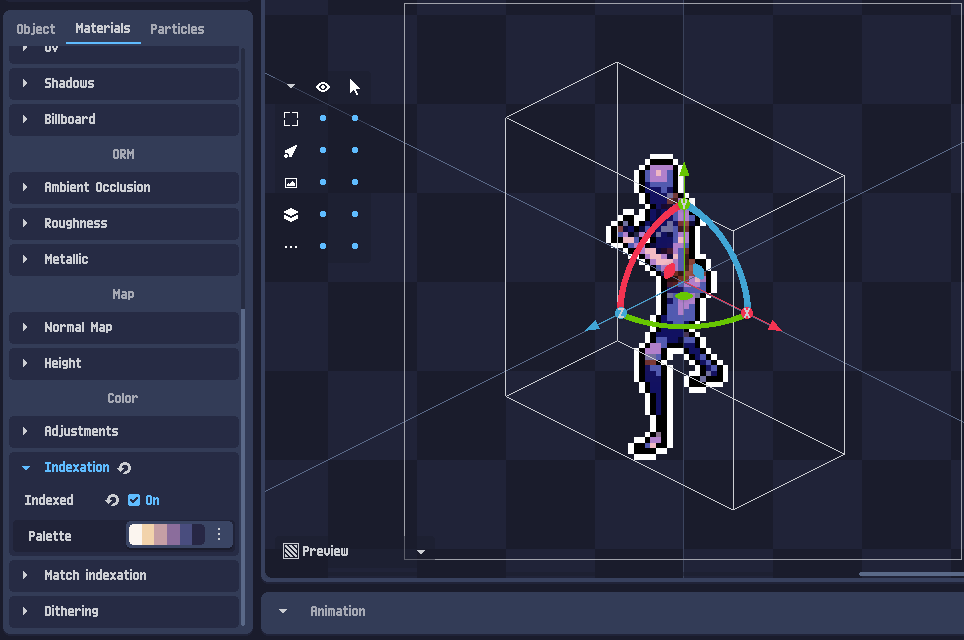
Materials can also use special shader options, similar to Layer shaders.
These effects allow you to apply per-material rendering styles such as:
- indexation palettes
- dithering patterns
Animating material properties
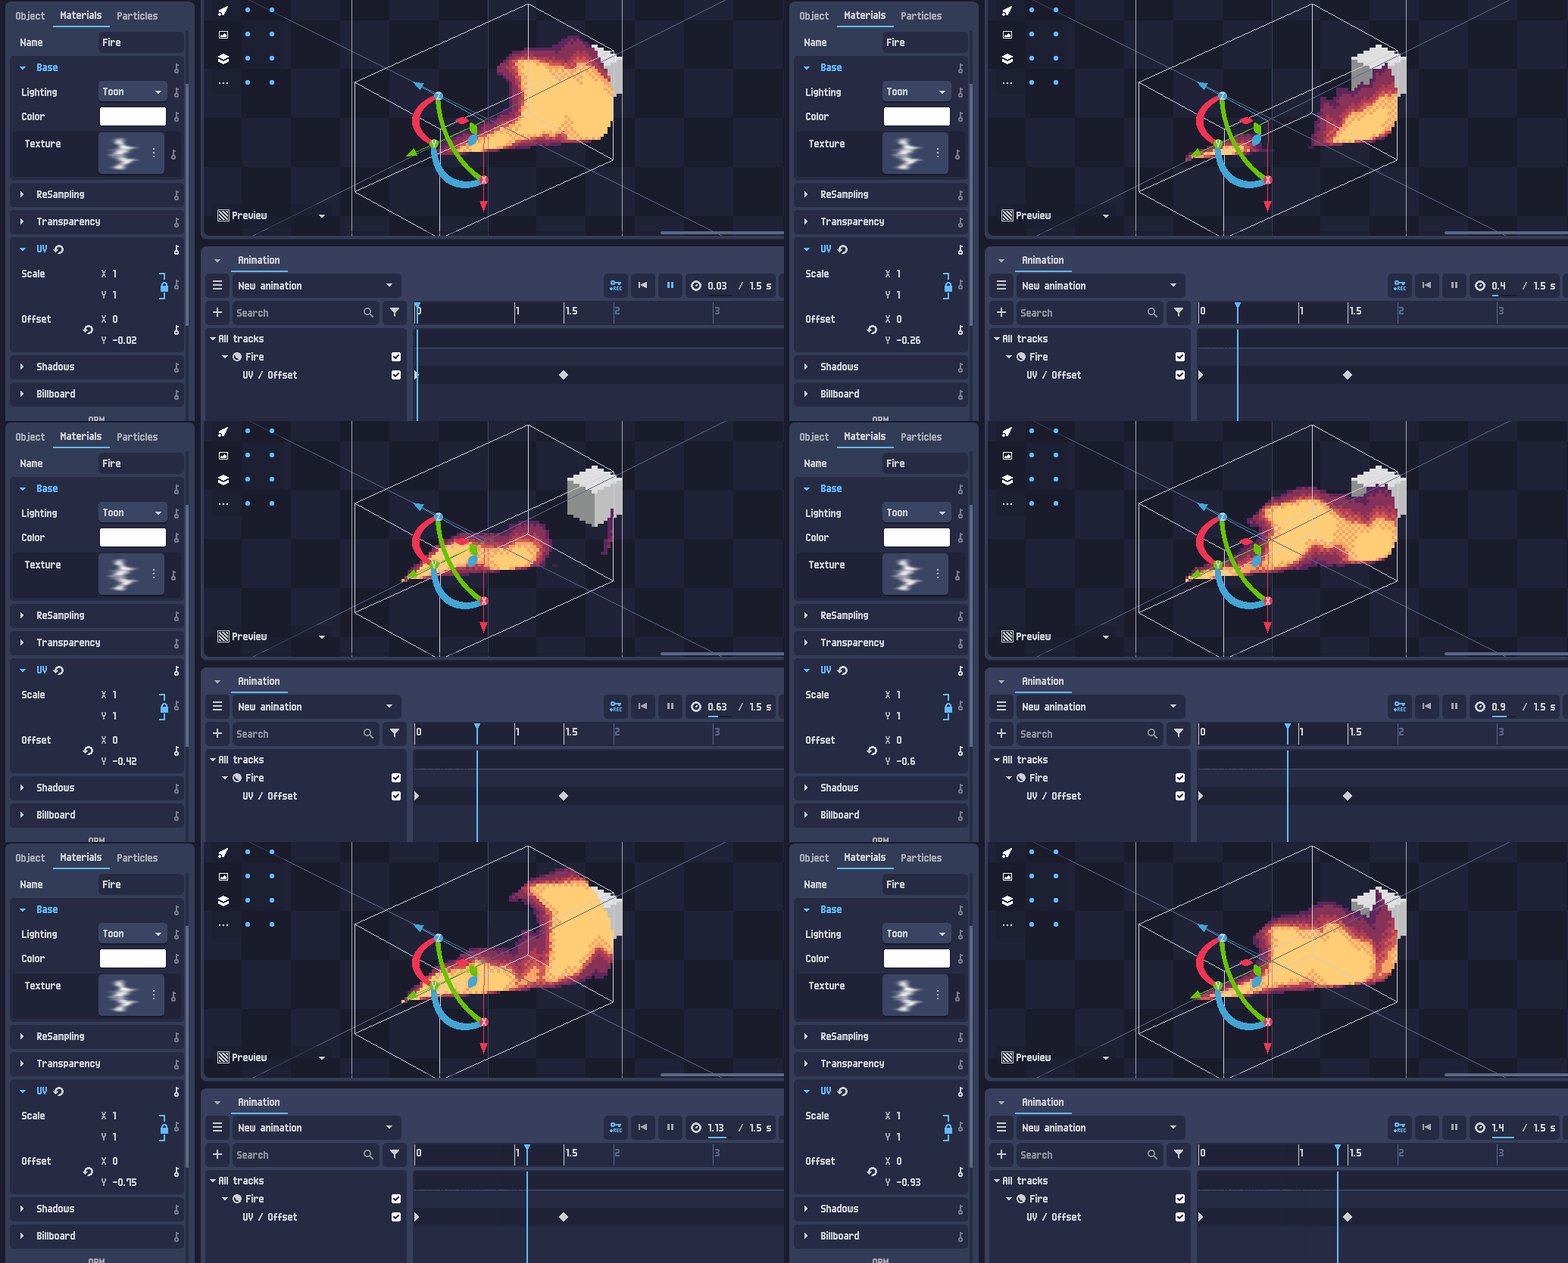
Most material properties can be animated using keyframes.
This allows you to create effects such as scrolling textures, changing colors, or animated shading.
Here is an example of animating UV properties:
