Particle systems
This tutorial walks you through a complete example of how to use the Particle system in PixelOver, by creating a simple torch flame effect step by step.
Info
In older versions of PixelOver, there was a feature called Trails.
It has been replaced by the Particle system, which provides the same behavior while offering more advanced controls and options.
Before you start
The final result of this tutorial is available in the PixelOver download files, inside the examples/ folder.
You can start from that project to follow along more easily, but it is not required.
The Particle system can be applied to several object types, including:
- images
- animated images
- shapes
- 3D models
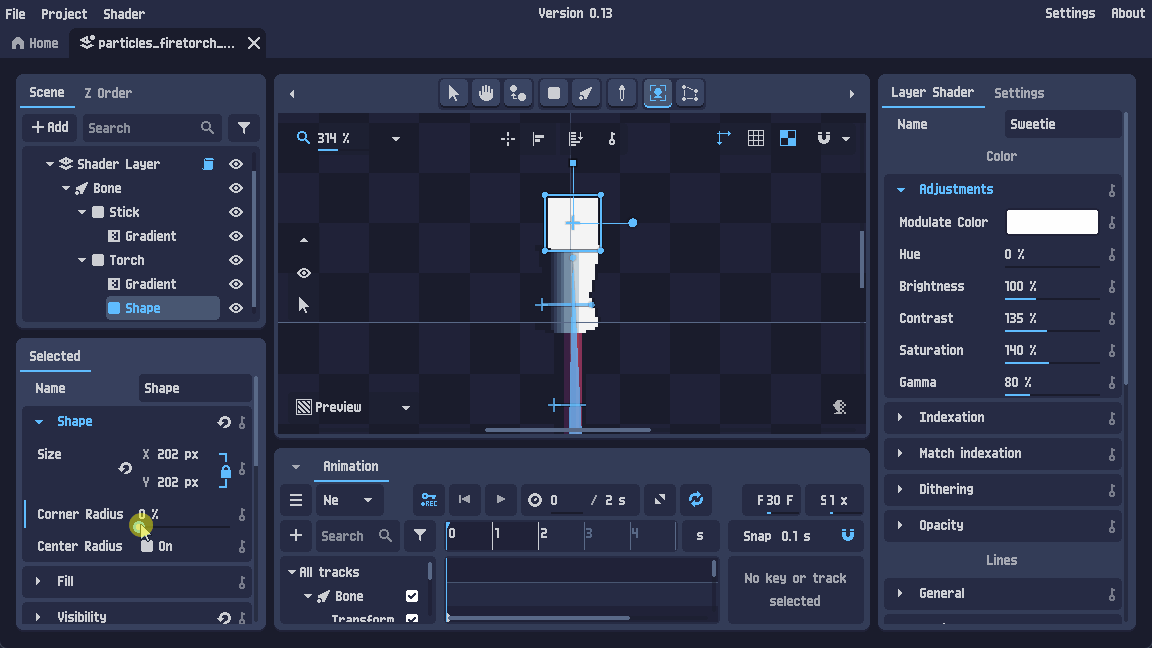
Step 1 - Create the emitter object
To begin, create an object that will emit particles.
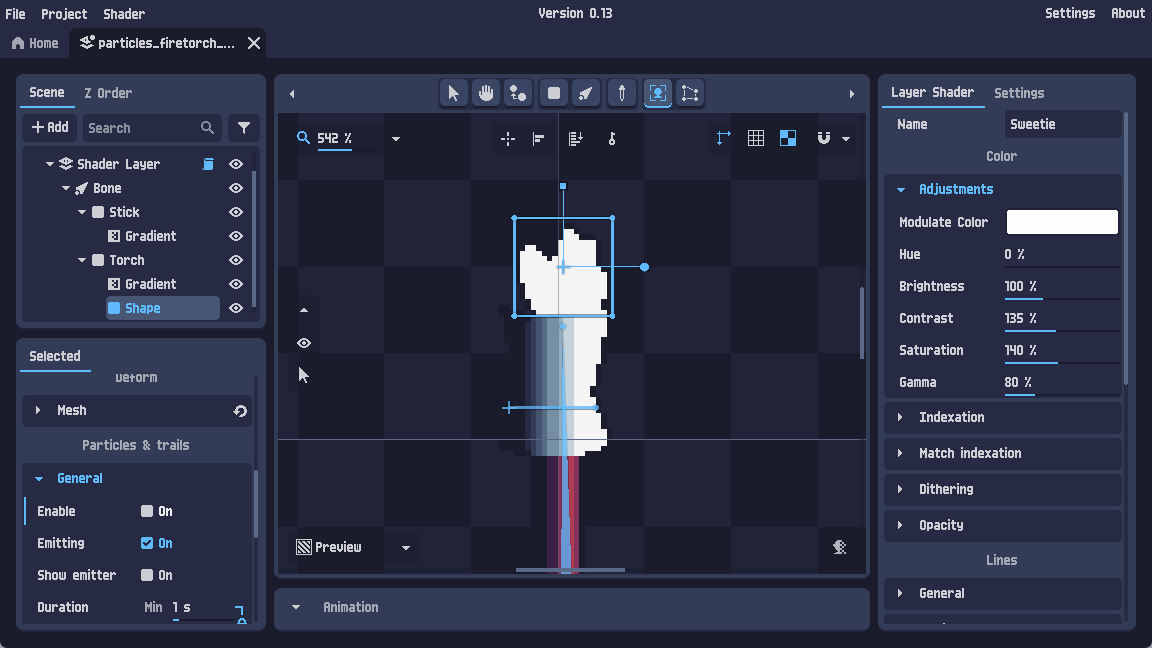
In this example, we will use a Shape as the base of the flame.
Because we want the flame to look more organic, we can also deform the shape using Mesh deformation:
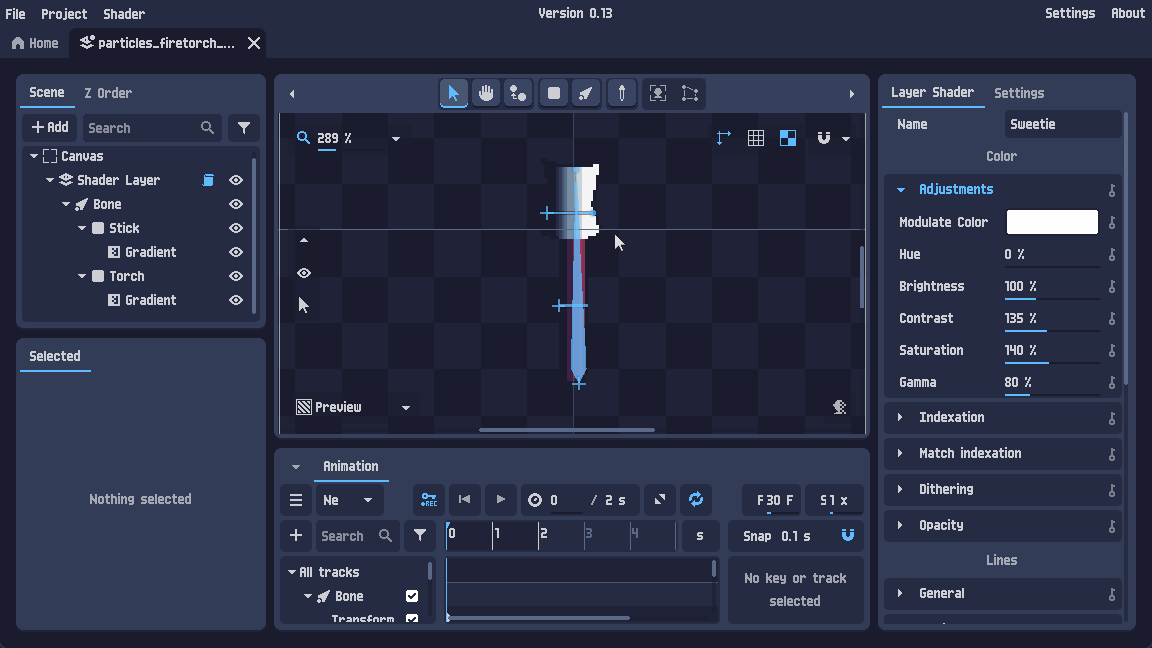
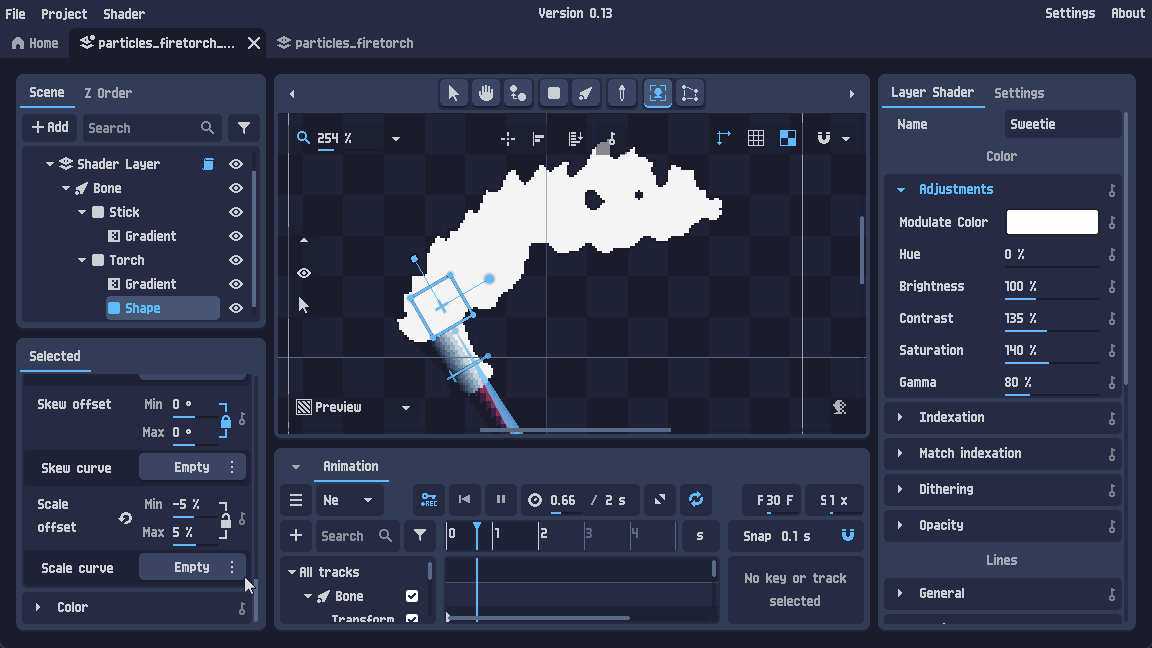
Step 2 - Open the Particle settings
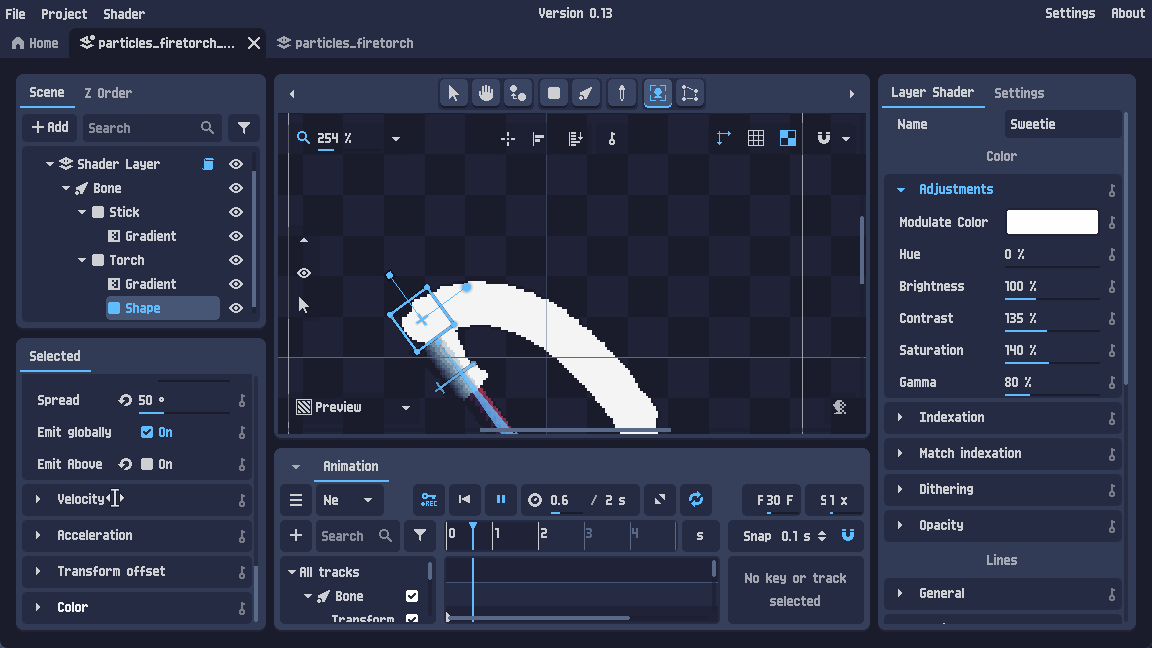
Once the object is created and selected, open the Particles tab to access all particle settings for this object.
Warning
In older versions of PixelOver, particle settings were located under a section called Particles and trails.
This section has been moved into a dedicated Particles tab.
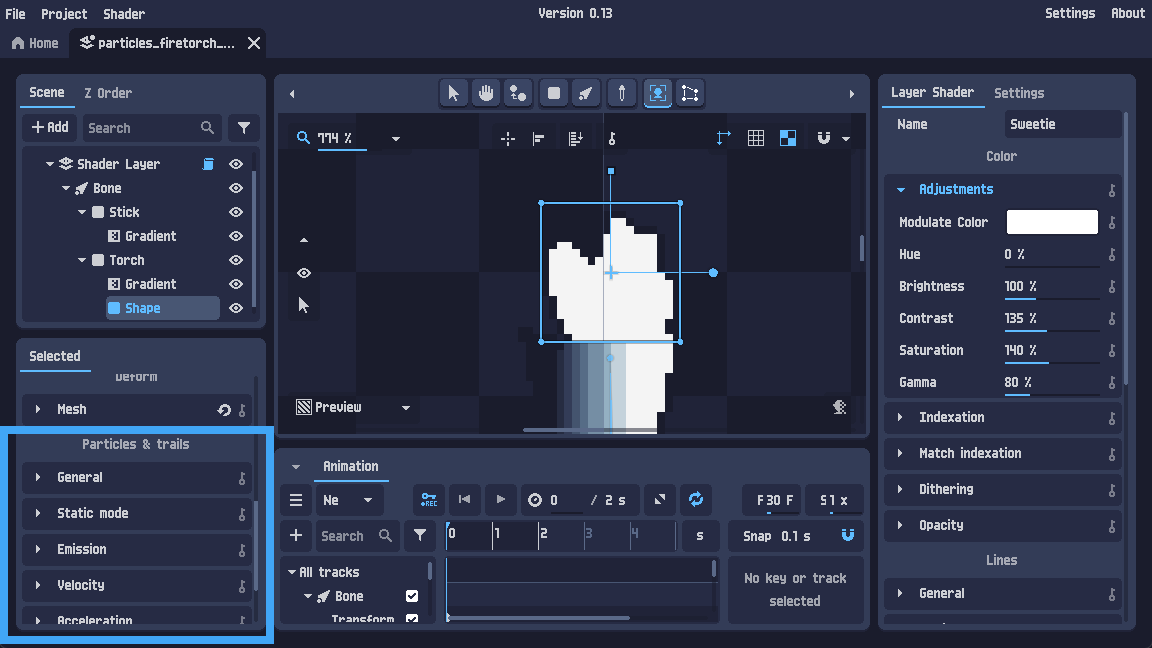
General settings
In the General section, enable particles for the selected object.

At first, you may not see anything. This is expected: particles are simulated over time, so you need an animation to preview them.
Create a new animation and press Play to start the simulation.
The General section also contains important settings such as:
- Lifetime (how long particles exist)
- Max particles (maximum number of particles displayed)
- Random seed (changes the random generation used by the system)
The Random seed is useful when you use min/max values and want a different random result.
Next, we will focus on the most important parts for a flame effect.
Emission
By default, particles are emitted from the object origin.
The Emission menu lets you control how particles are spawned, including:
- the emission shape
- the emission direction
- the diffusion angle (spread)
- whether particles are emitted as children of the emitter
- particle draw order
For a torch flame, we want particles to emit upwards, with a small diffusion angle.

At this stage, you may still not see motion, because particles need velocity.
Let’s add that next.
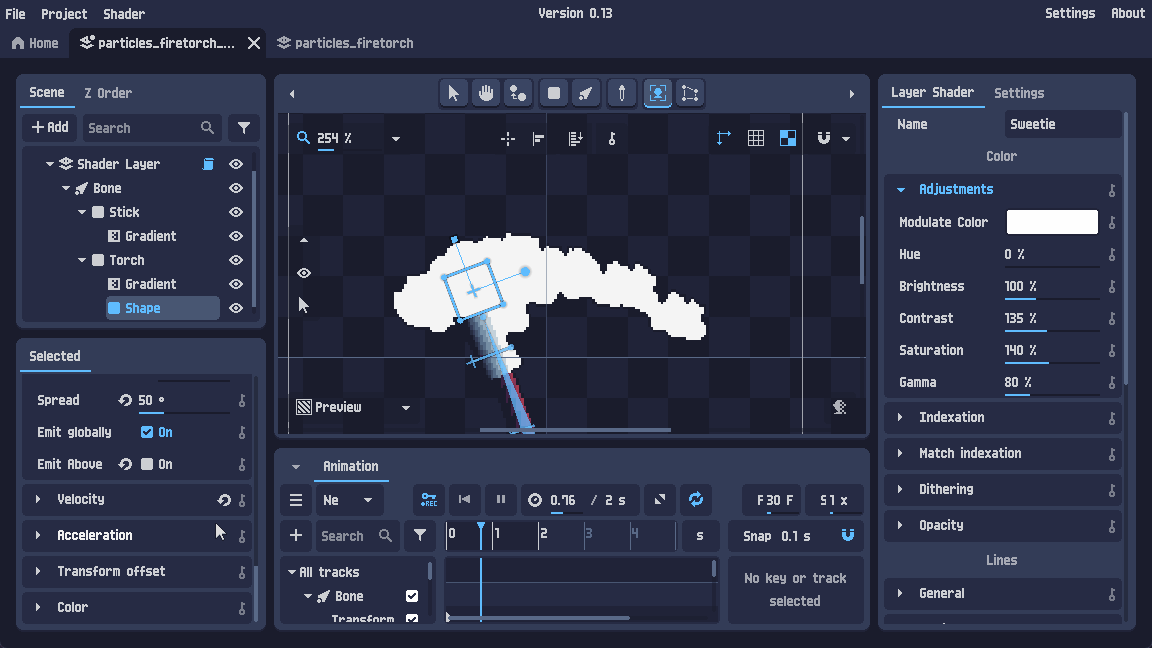
Velocity
The Velocity menu controls particle movement.
It includes:
- Linear velocity (straight-line motion)
- Angular velocity (particle rotation)
- Orbital velocity (rotates the particle direction around the emission point)
Many properties also support curves.
Curves multiply the base value over the particle lifetime, allowing effects such as particles shrinking or fading over time.
For this flame example, we will mainly use Linear velocity to push particles upward.
At the moment, the particles may still fall downward because of gravity.
We will fix that in the next section.
Acceleration
The Acceleration menu adds forces that influence particle movement.
It includes:
- Gravity (downward acceleration by default)
- Linear acceleration (increases linear velocity)
- Radial acceleration (pushes particles away from or toward the emission point)
- Tangential acceleration (side acceleration, relative to gravity direction)
For a flame effect, we usually want particles to rise without falling.
So the simplest adjustment is to remove gravity.
Transformation offset
The Transformation offset menu lets you apply random or controlled variation to the particle transforms, such as:
- rotation offset
- scale offset
- skew offset
This is very useful for flames, because it prevents the particles from looking identical.
For example, you can add:
- a random rotation
- a random scale variation
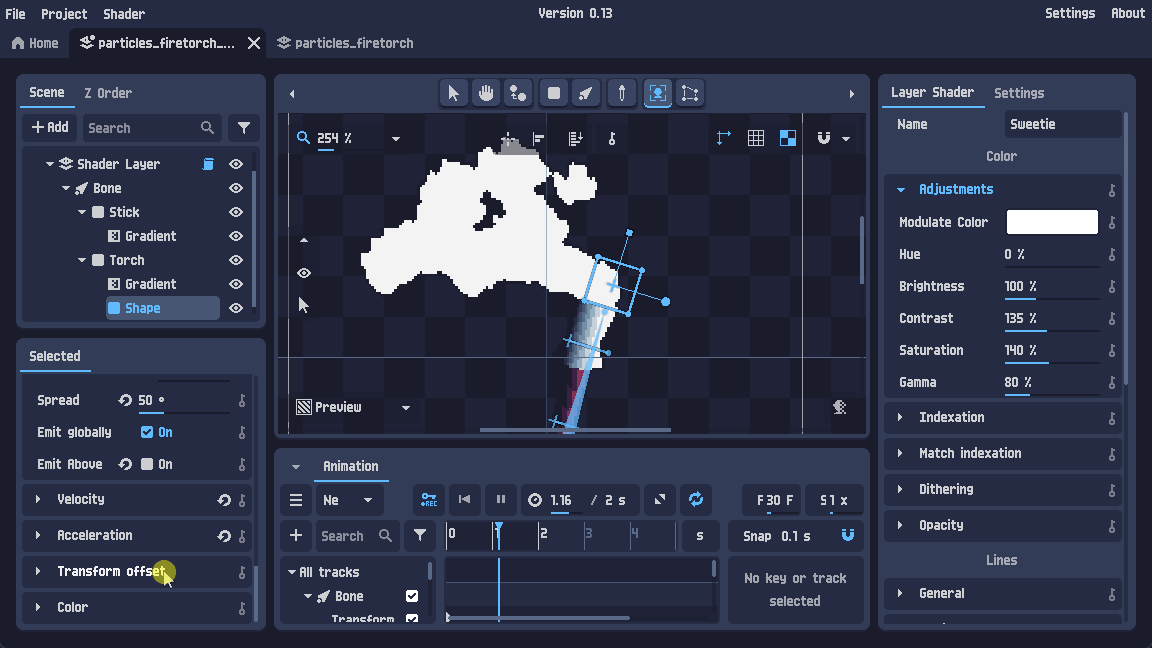
You can also add a scale curve, so the particles change size over their lifetime (for example: growing slightly, then shrinking as they disappear).
Color modulate
The Color modulate menu controls particle color.
You can:
- apply a fixed modulation color
- choose random colors from a gradient
- animate color over time using a gradient curve
For flames, a common color progression is:
- yellow at the base
- red in the middle
- dark (or transparent) at the end

Going further
This tutorial covered the core particle features needed to build a flame effect.
Once you are comfortable with the basics, try exploring additional options such as:
- Static mode, which lets you manually control the simulation time
- automatic frame animation when particles are applied to animated images
This tutorial project, along with other examples, is available in the PixelOver download files under the examples/ folder.