Drawing
This tutorial explains how to use PixelOver’s drawing tools to paint directly on layers and images, and how to split drawings into separate objects for animation workflows.
Requirements
The drawing tool is available for:
Drawing on a layer
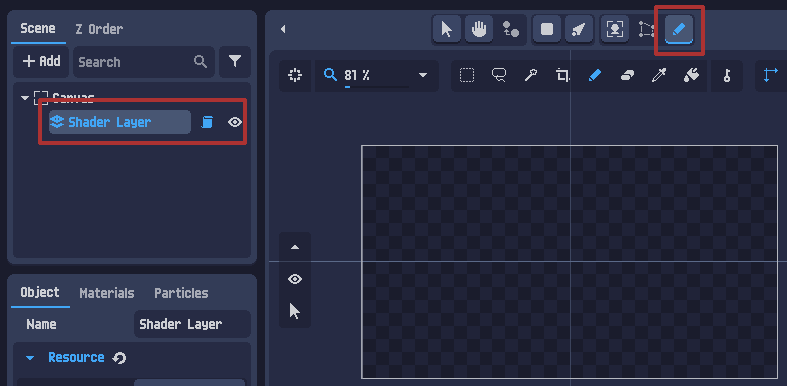
To draw on a layer:
- Select the layer in the scene tree panel
- Choose the Drawing tool
Info
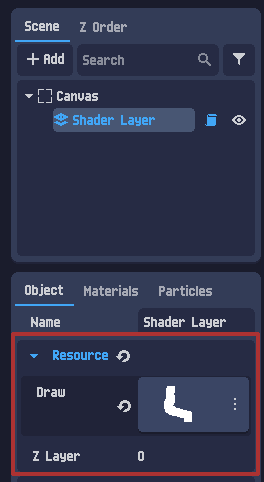
When you draw on a layer, the drawing is applied to all objects inside that layer.
If needed, you can adjust the draw order using the layer Z elevation property.
Drawing on an image (or animated image)
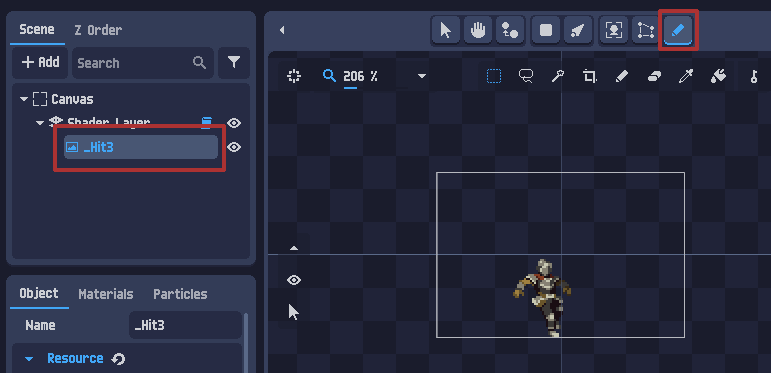
To draw on a 2D image or 2D animated image, you must first import an external image file.
Then select the object and choose the Drawing tool.
For this example, a sprite by aamatniekss was used, available here.
Info
Drawing on an image modifies its content directly. This means your drawing will be affected by transformations such as rotation, scaling, or skewing.
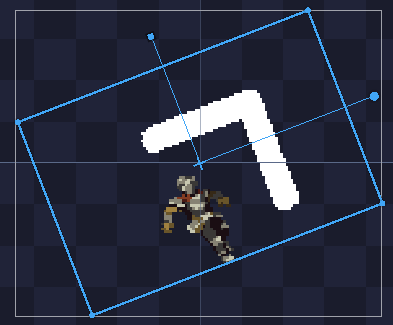
If you draw on a transformed image, you may notice that pixels are not perfectly aligned, especially on very small images. This is caused by resampling, since transformed images are displayed using interpolation.
More information: https://en.wikipedia.org/wiki/Pixel-art_scaling_algorithms
Drawing tools
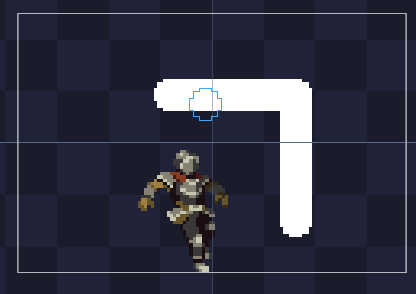
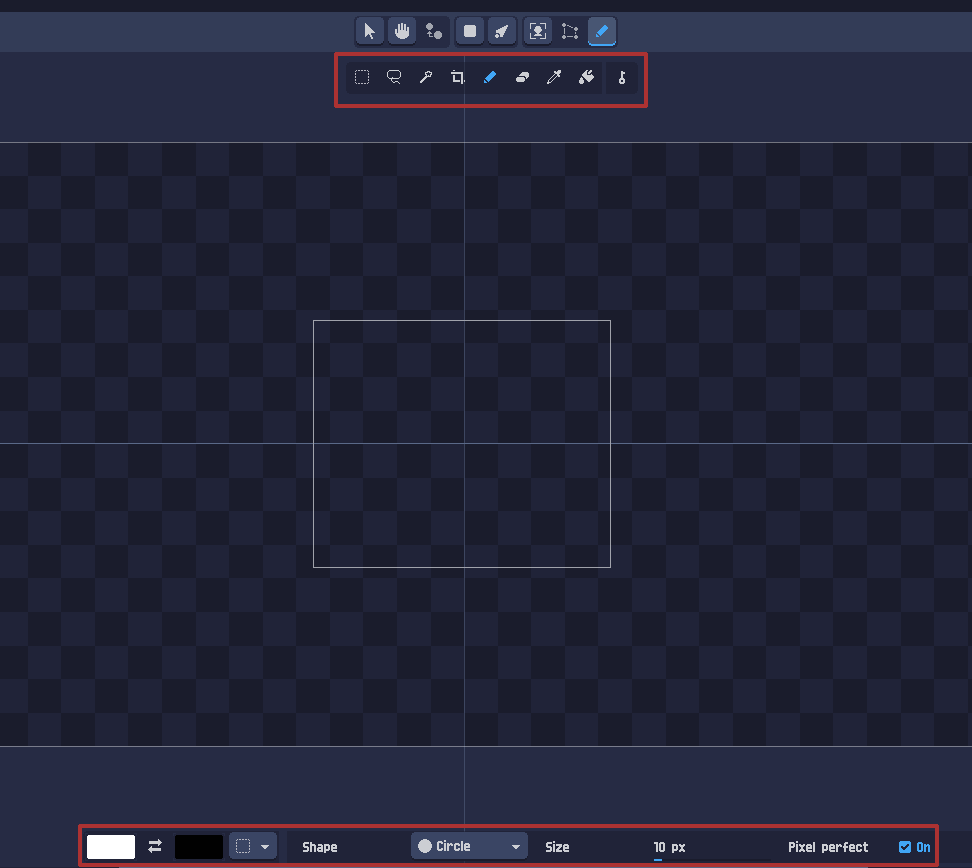
PixelOver includes common drawing tools such as:
- Pencil
- Eraser
- Bucket fill
- Selection tools
When you select a drawing tool, its settings appear at the bottom of the main view.
Tip
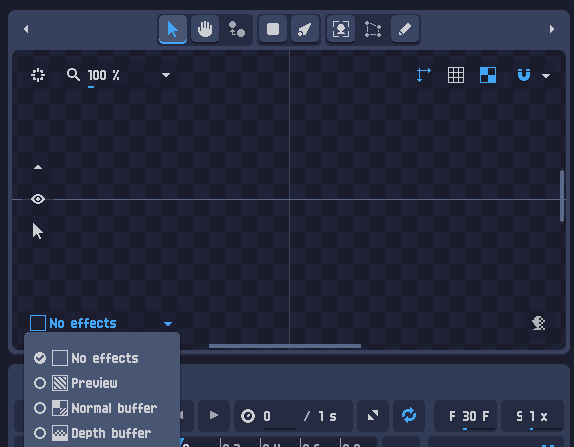
When drawing (especially with the Pencil), it is often best to switch to the No Effects view.
This avoids slowdowns caused by real-time shaders and lets you see the raw pixels you are editing.
Colors and tool shortcuts
To the left of the drawing tools, you will find:
- a Key button (to create an animation key for the current drawing)
- the primary color (used with left click)
- the secondary color (used with right click)
You can also assign a different tool to right click using the dropdown button next to the secondary color.
All drawing tool settings are available:
- in the project settings for the current project
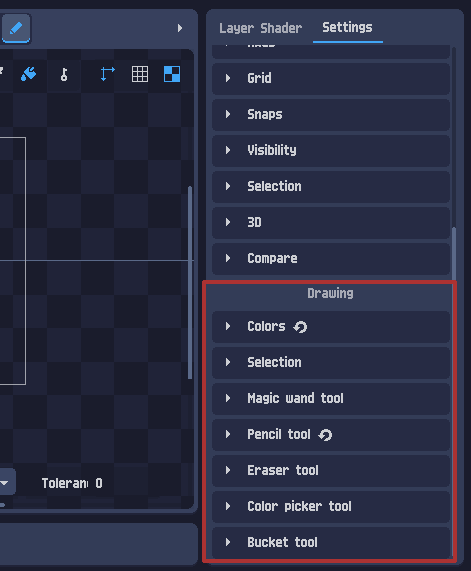
- in the global settings (used as defaults for new projects)
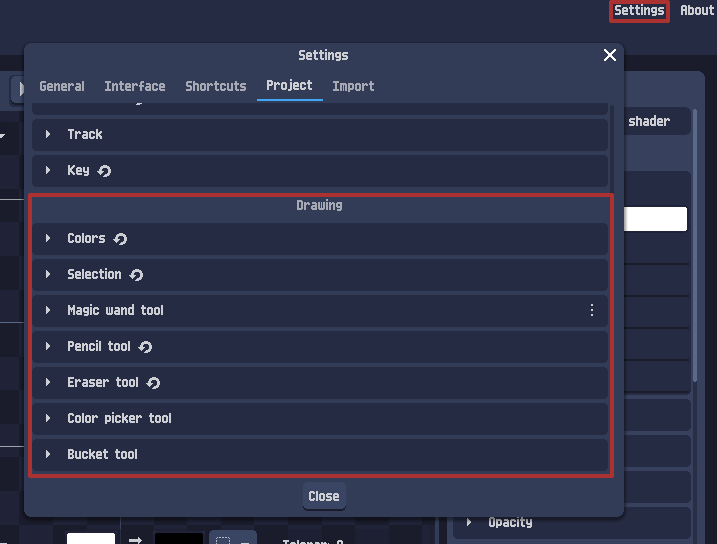
You can also find all drawing-related shortcuts in the general settings under the Drawing Subtool section.
Splitting drawings into objects
The drawing tool can also be used to split a single image object into multiple image objects.
This is especially useful for bone animation workflows, where each body part should be a separate object.
To split an image:
- Select the image you want to split
- Choose the Drawing tool
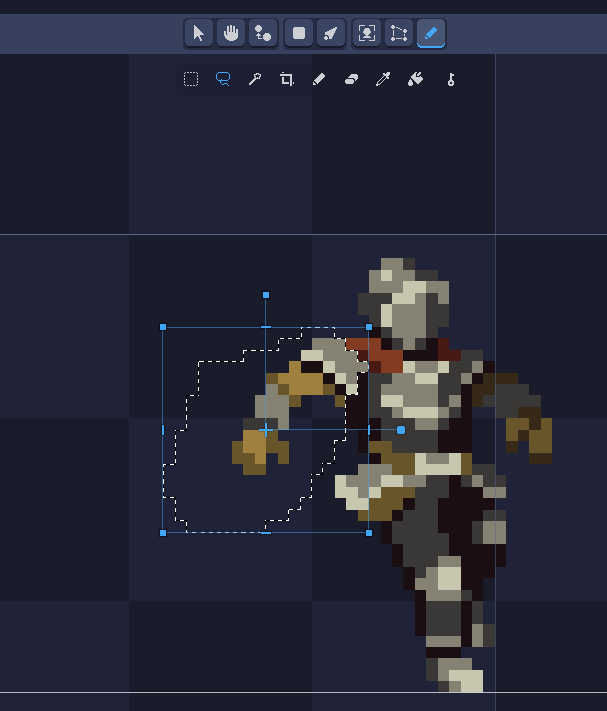
- Select a selection tool (Selection Shape, Lasso, or Magic Wand)
- Make a selection
- Press
Ctrl + Xto cut
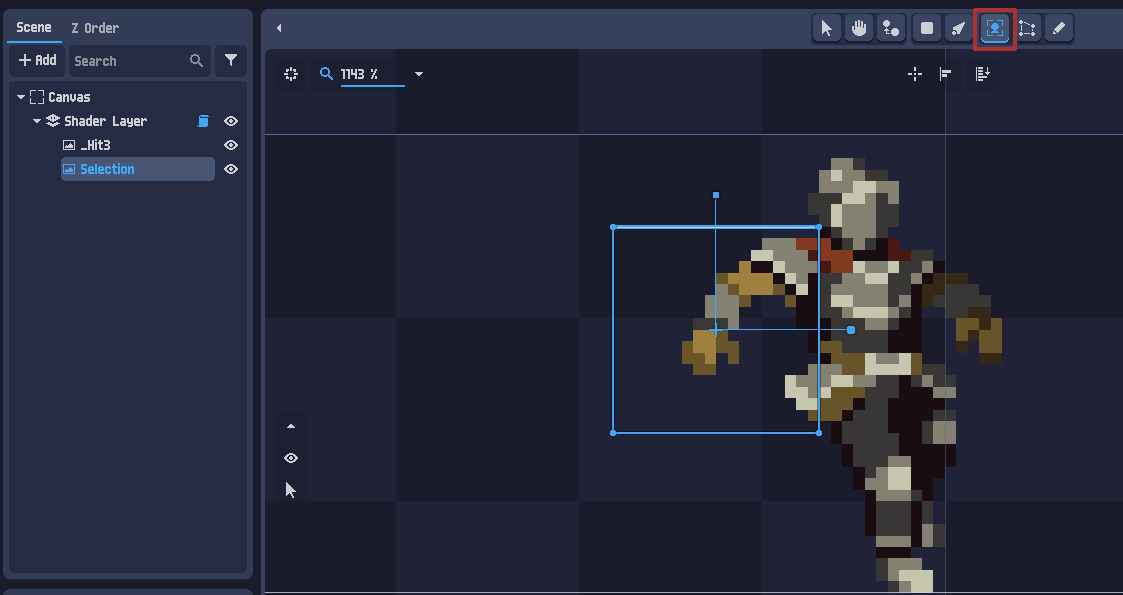
To paste it as a new object:
- Switch back to the Transform tool
- Select the object that should contain the new image (for example, the layer)
- Press
Ctrl + Vto paste
If you want to animate your split images, you can follow the bones animation tutorial.
Info
You can also do the opposite: copy an object and paste it back into a drawing.